If you have ever asked yourself which power supply you own, you’ve come to the correct place to find an answer.
Unlike the GPU and the CPU, your PSU doesn’t interact with the motherboard in a manner that transmits information.
This makes it difficult to measure the capabilities of your power supply by using software, but it isn’t unachievable.
Power supply units tend to get overshadowed by more prominent components, yet understanding them is essential. Knowing how much power you have is vital, especially if you’re planning on building a PC.
However, if you have purchased a pre-built PC, your power supply will likely already be properly configured for the build, and you shouldn’t encounter too many issues. Unless you’re planning to upgrade that pre-built PC, that’s a totally different can of worms.
That being said, you need to know that there are two methods of determining your electrical supply. Which approach you should utilize will depend on your electronic computer.
Table of ContentsShow
Check The Packaging/Receipt
The most evident method is simply looking under the hood and reading the declaration. If you don’t feel confident opening the case of your PC, your only alternative is to check the details on the original PSU packaging or the receipt.
If you have purchased a pre-built PC, you are unlikely to have any initial packaging/boxes for the components. What you should have is a receipt, warranty, or any other kind of proof of purchase.
On this receipt, you should be able to see precisely which brand and model of PSU your PC features.
If you obtained the PC components individually, try to find the PSU packaging. On it, you will find the exact make and model.
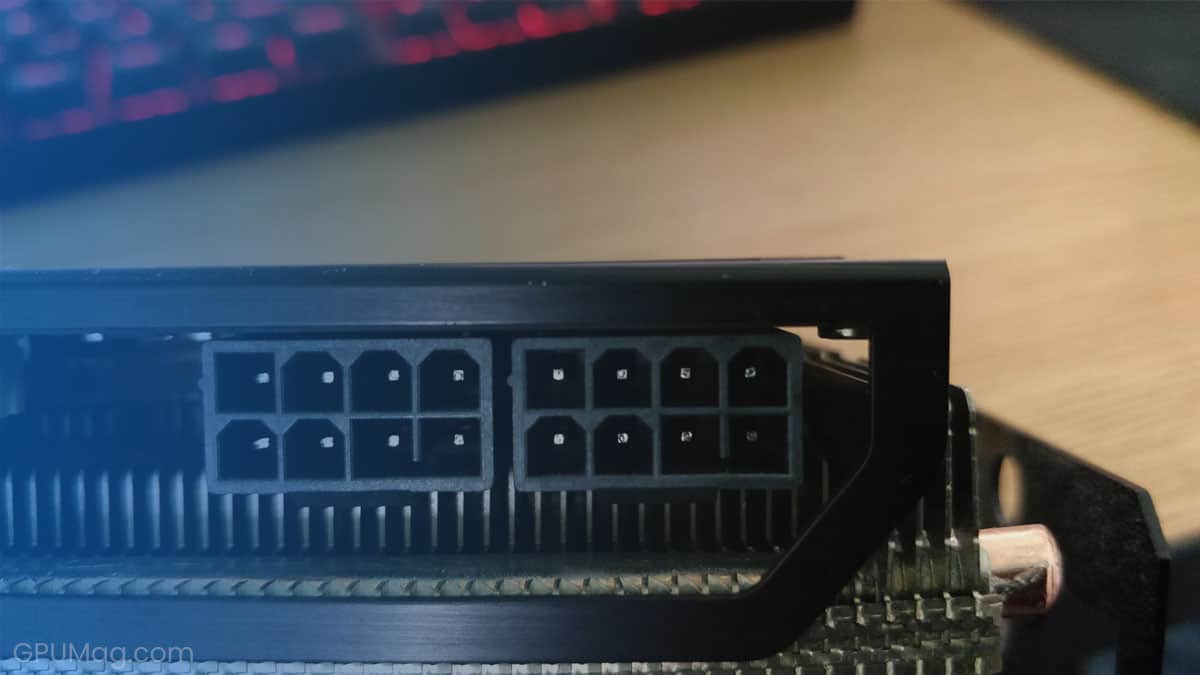
Opening Up The Case
Are you currently lamenting that you threw away the packaging for your PSU? Don’t worry; there’s still the option of opening up the housing, and that is exactly what you should do.
As required by the UL (formerly Underwriters Laboratories), the PSU has a label with electrical specifications on it.
Once you’ve opened the case, you should be able to locate the PSU and the sticker on it easily. However, you might be unable to find the sticker because they are sometimes placed on a different side of the PSU.
If this applies, you will need to open the rear of the case and see if the sticker is apparent. If it isn’t, then it probably isn’t at the top either.
This means you won’t be able to find out precisely which PSU you have, which poses a risk. You won’t know if your current build is suitable for your PSU’s specific power range or if upgrading it could lead to issues.
In this scenario, we recommend getting a new power supply unit, as having that label is a vital safety requirement.
Understanding The Label Of The Power Supply Unit
You may be examining the sticker and a table with a group of figures that don’t hold much significance for you. Don’t worry, here’s a brief guide on what it all signifies.

- Wattage – Usually written in the biggest font by some margin. This provides you with the information you will probably need the most.
- PSU Name/Model – This will likely be written in a strange production code that you can type into Google to learn more about the model, such as its connectors.
- Input Voltage – Power Supply functions on AC voltage, which you need to supply to it. In the US, Canada, and most South American countries, this number will be roughly 110V – 127V. For the UK, Europe, Asia, Africa, and Australia, etc., it is 200V – 240V. This directly correlates to the power socket voltage.
- DC Output – On the other hand, this is the power that your PSU provides to your computer. Standard output voltages are +3.3V, +5V, +12V and +5VSB. You might also find -12V, but that is no longer in use. These are also known as Rails, such as 3.3V Rail, 5V Rail, etc.
+5VSB is always active as it powers the mouse, keyboard, memory, LAN, and BIOS memory to support the PC when it’s in standby mode. - Max Load or Max Current– Under each table cell for voltage, you will find the label for the maximum current load. This particular wording is sometimes omitted, but in most cases, you’ll find it directly beneath the corresponding voltage. Its unit is Ampere, and, if you overload it, it could result in a shutdown.
- Maximum Power (Combined) – This will be directly under output cells and is calculated in Watts. This is the formula used in the calculation: Power (W) = Voltage (V) X Current (I)
- Total Power – Some manufacturers only use the total combined power of 12V Rail as it powers 80-90% of the components, while others will calculate all the rails.
Keep in mind, when looking at upgrading to a new model, the +12V rail is what you should examine. That is what the CPU and GPU will be using. These are the two components that consume the most power.
Searching The Manual Or Looking It Up Online
This is the easiest and most reliable method to use to determine which power supply you have if you own a pre-built PC.
There’s no need to open up the case and potentially cause issues when there’s a available text to assist you out. If you no longer have your PC’s manual, hopefully, you at least know which model it is.
This will allow you to effortlessly search for it online and find the specifications on the manufacturer’s website.